Job Import via SQL
Previous Topic  Next Topic 

The Job Import via SQL will run a predefined script on an external database and add/edit jobs in DMS.  Select Import | Import via SQL | Job Import via SQL to execute the import.


When importing data to DMS, retain and merge is used for making changes to existing jobs.  Retain and merge specifies which fields may be changed during an import and which fields cannot be changed. 


The Job Import via SQL has the ability to add to and change operations that are being imported by comparing the imported operation to the Import Interface Table.  If the “Apply import table” is selected and a new operation is being imported, DMS will look to see if the imported operation has any matching import interface operations.  Note that only new operations that are being added to DMS will have the Import Interface Table applied; existing operation in DMS will not be changed by the Import Interface Table settings.


The Job Import via SQL windows will appear as in the example below:


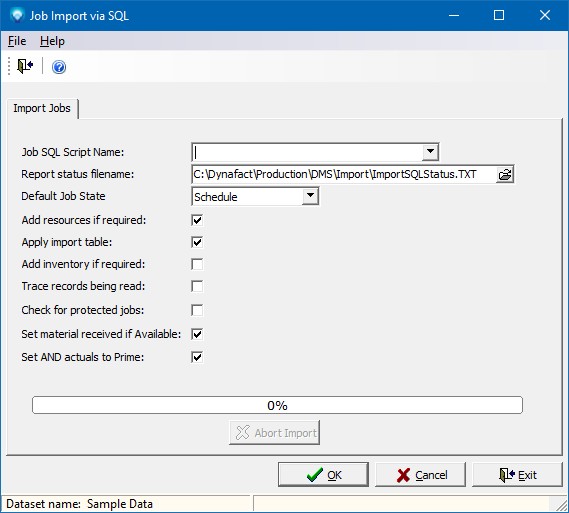
To import jobs via SQL, perform the following:


  1. Job SQL Script Name Select the SQL script name from the drop down list.  The SQL script must already exist
  2. Report status filename Enter a filename where the report status will be written or press enter to take the default filename of ImportSQLStatus.TXT.  DMS writes the status and any errors to the file entered to this prompt.
  3. Default job state The default job state will be applied to any job that does not specify the job state. 
  4. Add resources if required Check this prompt if you want to add resources that do not already exist in DMS.  Do not check this prompt if you want DMS to generate an error when adding operations with resources that do not exist in DMS.  If checked, DMS will add any new resources found when importing operations.  The new resources will be setup using a resource profile with the default type of work with 8 hours per shift and 8 hour per operation per shift.  The report status file will record new resources added to DMS so that you can adjust these resources as required after the import.
  5. Apply import table   If the “Apply import table” is selected and a new operation is being imported, DMS will look to see if the imported operation has any matching import interface operations.  Note that only new operations that are being added to DMS will have the Import Interface Table applied; existing operation in DMS will not be changed by the Import Interface Table settings.  See Import Interface Table for more information.
  6. Add inventory if required Check this prompt if you want to add inventory that does not already exist in DMS.  Do not check this prompt if you want DMS to generate an error when adding material detail that specify inventory that do not exist in DMS.  If checked, DMS will add any new inventory items found when importing material detail.  
  7. Trace records being read  Check this prompt if you want to display the information currently being imported as well as write the information being imported to the report status file. 
  8. Check for protected jobs  If you are using Job Security Protection to prevent certain jobs for edits and updates, you can chose to ignore the job security protection during the import by not selecting this option.  If you select this option then the area of a job that is marked as protected will not be updated.
  9. Set material if Available  If you are importing material you can chose how the Material Available flag is set.  If selected and the material available import is true and the material received date is blank, then the import will set the material date received to current date.  If this option is not selected, the Material Date Received is not updated during the import. 
  10. Set AND actuals to Prime  If selected, then any AND operation's actual time, quantities and operation status will be set to the prime operation's actual time, quantities and operation status.  In most cases, you want to have this option selected.
  11. Click OK to start the import process or Cancel to abort the import.  If OK is selected, DMS will response with the following confirmation window:


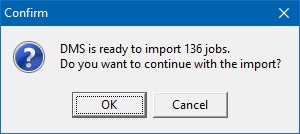
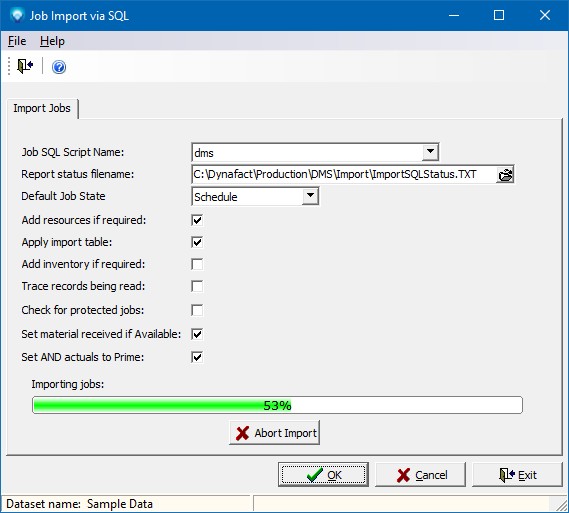
Click OK to start the import or click Cancel to cancel the import.  If you click OK, DMS will start the import and display the import status on the screen as in the example below:


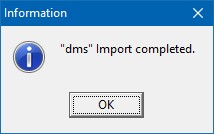
When the import is finished, DMS displays a message similar to the example below:


During the import you can abort the process by clicking the Abort button.  If the Abort button is clicked, DMS will as you to confirm the abort by displaying the following window.  If your click Yes, the import process will be aborted.  If you click No, the abort will be ignored and the import will continue.


Also see Automatic Execution Commands