|
Report Grouping
|   |
|
Report Grouping
| |
When you print a report, you usually want to organize the records in a particular order. For example, if you are printing a list of jobs, you might want to sort the records alphabetically by order number.
For many reports, sorting the records isn't enough. You may also want to divide them into groups. A group is a collection of records, along with any introductory and summary information displayed with the records, such as a header. A group consists of a group header, nested groups (if any), detail records, and a group footer.
Grouping allows you to separate groups of records visually and to display introductory and summary data for each group. For example, you may want to group jobs by job identification and then total the hours for all jobs within that group.
Note: For grouping to work correctly in DMS Reports the correct sort order MUST be applied to the report. For example, the Net Change by Job Identification report groups by the job identification and must be sorted by "Jobs by Job Identification".
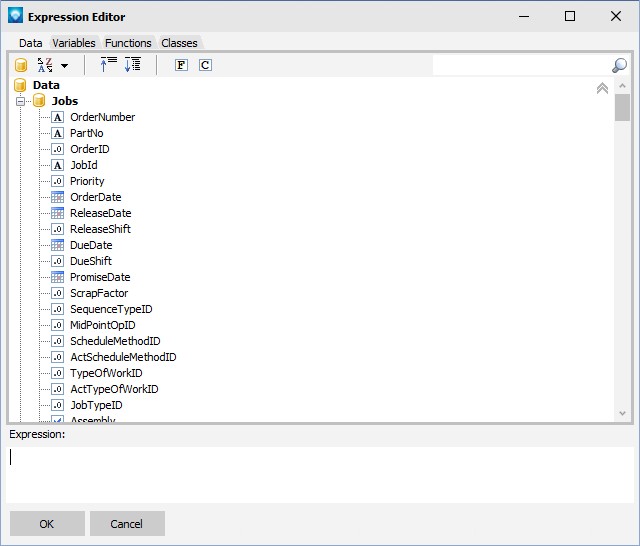
To add a Group Header to a report, click on the Data Band ![]() on the Designer Menu Bar and select the Group Header. The Group Header will appear on the report along with the popup window shown below (you may need to drag and drop the Group Header to the correct location of your report, usually near the top of the report after the report title):
on the Designer Menu Bar and select the Group Header. The Group Header will appear on the report along with the popup window shown below (you may need to drag and drop the Group Header to the correct location of your report, usually near the top of the report after the report title):
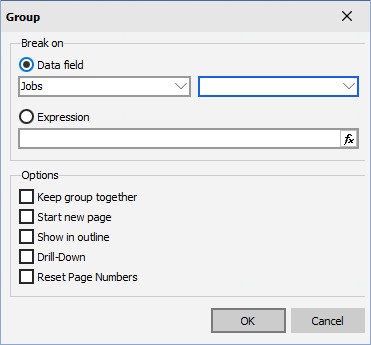
For each group you need to define:
Each group can have a Group Footer. To add a Group Footer to a report, click on the Data Band ![]() on the Designer Menu Bar and select the Group Footer. The Group Footer can be used to total information for each group such as count how many jobs there are in each group, total the remaining hours of each group, etc.
on the Designer Menu Bar and select the Group Footer. The Group Footer can be used to total information for each group such as count how many jobs there are in each group, total the remaining hours of each group, etc.
For more information on grouping, see Report on Jobs using Group Header Tutorial.