Scheduler Email
Previous Topic  Next Topic 

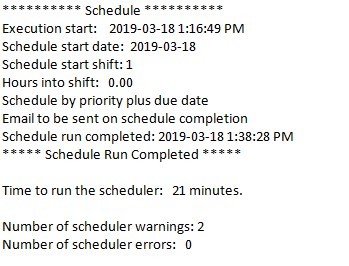
The scheduler has the option of sending an email when the schedule has finished.  You must define the User Email Settings before DMS can send an email. 


An example of the scheduler Email tab window is shown below:


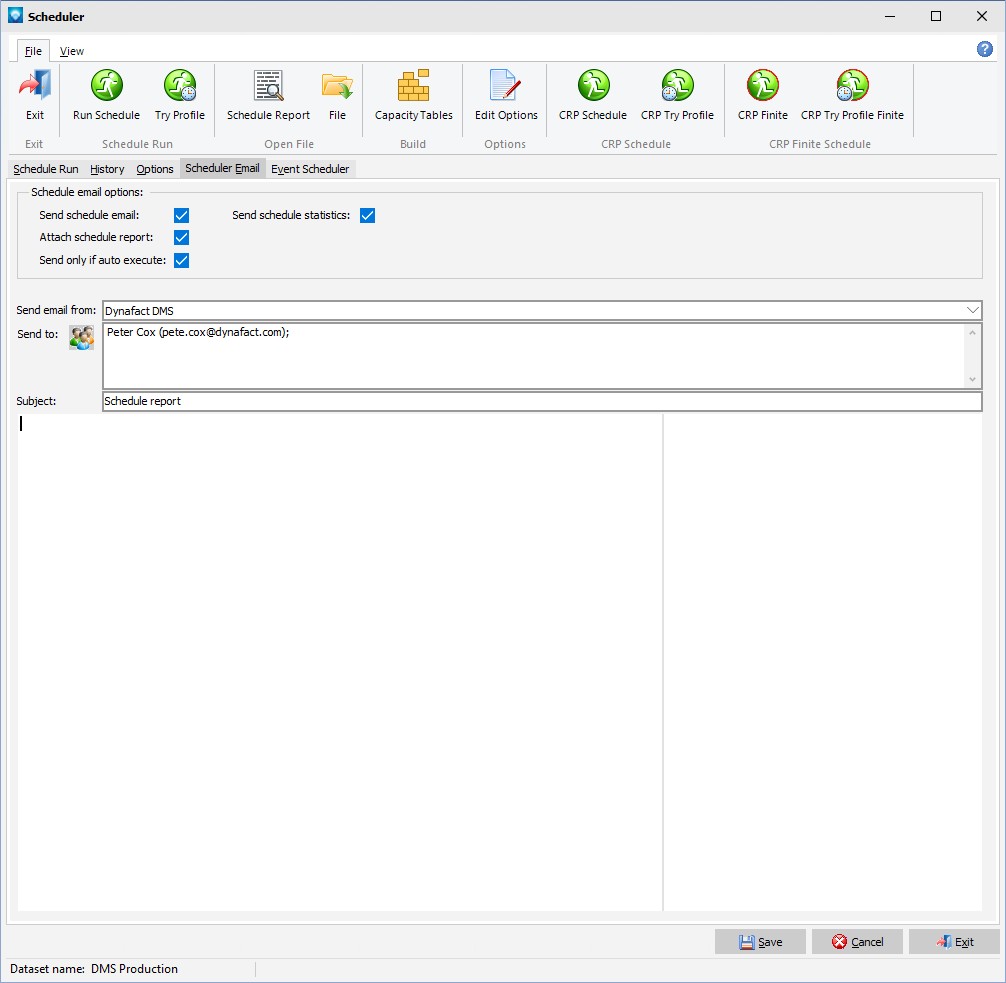
To send an email when the schedule run has completed:


  1. Select the Scheduler Email tab.
  2. Send schedule email Check the Send schedule email checkbox.
  3. Attach schedule report  If you want to attach the schedule report (status of the schedule run and any errors/warnings) to the email check the Attach schedule report checkbox.
  4. Send only if auto execute If you want to send an email only when the scheduler is run by an auto execute command, check the Send only if auto execute checkbox.  If you want an email to be sent regardless of how the schedule run was started, do not select this checkbox.
  5. Send schedule statistics  If selected, the schedule run statistics are included in the body of the email.  An example of the schedule run statistics is shown below:

  6. Send email from Select the email address you want to send the email from.  You must define the User Email Settings before DMS can send an email.
  7. Send to  Click on the button or double click in the Send to list to select who you want to send the schedule report to.  The Send To Email window appears.
  8. The left side of the window lists your current contacts.  You can double click on a current contact to add them to the Send to list.  You can also add an email address by entering the email address to Add email and then clicking on the Add to “send to” button.
  9. When you have entered one or more emails to send the schedule report to, click OK.  Click Cancel to cancel the editing of Send to emails.
  10. Subject  Enter the email subject for the schedule report.
  11. You can add information to the body of the email as required.
  12. Click Save to save the schedule email settings.  Click Cancel to cancel the changes.