|
User Groups
|   |
|
User Groups
| |
User Groups is where you define a group and what areas of the system the group has access to. You can also setup user settings (how DMS screens will appear) for a User Group. To setup the user settings for a User Group, see User Settings Management.
To gain access to User Groups, from the main calendar menu select Security | User Groups. You will be presented with the following screen listing all the current user groups:

Click on New add a new group or select an existing user group from the tree and click Edit.
Enter a unique Group Name and then click on the check boxes on each tab to enable access to that particular area of the system. If a user has access to all check boxes on a certain tab, you can click on the All button. You can also click on the None button to uncheck all the check boxes on the tab.
DMS enables you to specify that a user group is to be limited to one of two commands when a user logs in; either Quick Job Updating or the Start/Stop Clock Job Updating or to automatically execute a DMS command such as going directly to Mfg Orders Job Grid. There are 29 login DMS commands on the General tab for User Groups. The commands are:
If the user logs in and a login event occurs, the user should not try and type ahead or select other menu items until the login event has completed. Unless the user has On Login event numbers 2 to 5 selected where the user is restricted to only one activity and then logged out, after the login event the user can select other DMS menu items and activities. In this case the login event is a convenience to enable the user to execute the typical menu selection when they log into DMS.
When you have finished defining the areas of the system the user group has access to, you can click on the Save button to save the current user group or you can click Cancel and the data you have entered is ignored and the user group is not saved.
Click on File | Edit or the edit icon ![]() to edit the existing highlighted group.
to edit the existing highlighted group.
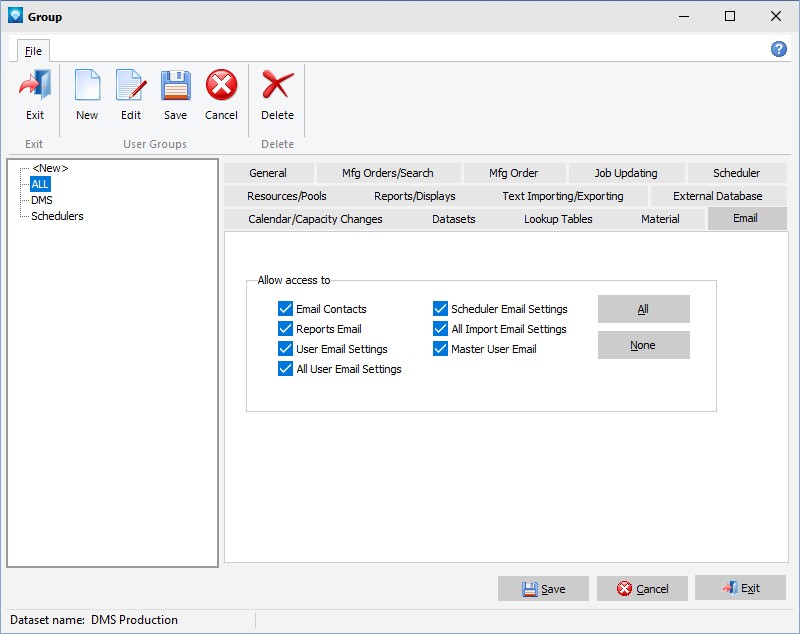
The current user group settings are displayed on each tab. You can modify each tab as required and then click Save & Exit to save the changes and exit to the User Group list screen. If you click Cancel & Exit the changes you have made are not saved and the user group remains as it was before the edit.
From within the User Group list you can click on File | Delete of the delete icon ![]() to delete the existing highlighted group.
to delete the existing highlighted group.
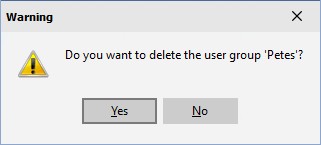
DMS will ask you to confirm the delete. Click OK to delete the user group, or click Cancel to cancel the delete. The example below shows the delete confirmation with the name of the group to delete:
Note under the Email tab, the User Email Setting and All User Email Settings is typically selected for administrator/IT access to set up where DMS emails will be sent from (i.e. outgoing DMS emails). The User Email Setting enables the group to access the settings for the logged in user only. The All User Email Settings enables the group to access all users and set up outgoing emails for all DMS users. The Select sent from setting enables the user to select what email they want to use to send email from. If the Select sent from is not selected, the user of the group cannot change what email address to send the email from; the default for the user is used.
See also: