Resource Pools |
|
A resource pool is a group of resources that have the ability to perform a common task(s). You can group one or more resources under a pool for scheduling purposes, capacity analysis purposes, and/or for reporting purposes. Before a resource can be grouped into a resource pool, the resource pool must be defined. Once a resource pool has been defined and is used by DMS, it cannot be deleted unless resources using the resource pool are assigned to another resource pool. Instead of deleting a resource pool you can make it unavailable for use by unselecting the Available checkbox.
A resource pool can be designated to be a "multi shift pool". A pool designated as a multi shift pool tells the scheduler to select the best combination of resources across different shifts from the pool in order to complete an operation. The scheduler will select a resource from each of shift 1, shift 2, and/or shift 3. Note that a multi shift pool is not compatible with the Minimum Number of Resources / Maximum Number of Resources settings nor are they compatible with Variable Resources. For more information, please see multi shift pools.
Note: For the majority of pools, do not select Multi shift pool as it adds time to the scheduler and can cause changes to the planned routing. The Multi shift pool selection should be used sparingly.
When you select Tables | Resource Pools, the following window appears, listing the current resource pools:
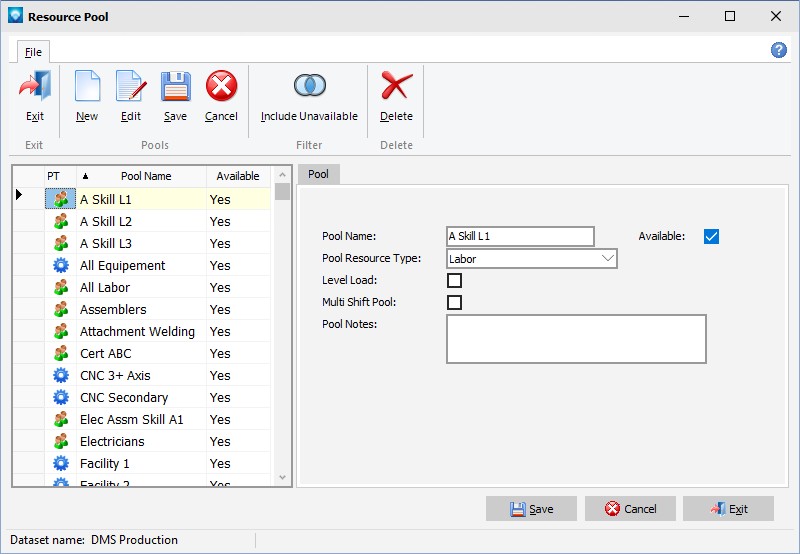
The following tabs and commands are available:
File
1.New To add a new resource pool, select File | New.
2.Edit To edit an existing resource pool, highlight the resource pool in the grid and select File | Edit or double click on pool to edit in the grid.
3.Include Unavailable Select File | Include Unavailable to toggle this button on to display pools that are marked as unavailable. Toggle the button off to display available pools only. Upon entry into Resource Pools, this button is up (not selected) so that only available pools are displayed.
4.Delete To delete an existing resource pool, highlight the resource pool in the grid and select File | Delete. DMS will confirm the delete. Click OK to delete the resource pool, or click Cancel to cancel the delete.
The following explains the prompts on the resource pool window:
1.Pool Name Enter a unique pool name. A resource pool name can be up to 20 characters long.
2.Pool Resource Type You can optionally enter a type of resource for a pool. If a type of resource exists for a pool and you wish to remove it, use the delete key to blank the type of resource entry and the pool will not be associated with a resource type.
3.Level Load Level load is used for scheduling purposes only. If this option is selected, the scheduler will look for and schedule the resource within the designated pool that currently has the most open capacity. If you want to select resources based on priority, (the order in which they are placed in the resources pools tab), then do not select this option.
4.Multi Shift Pool Logic If this pool will be a multi shift pool where certain scheduling characteristics will apply, select this option. Otherwise do not select this option. For most pools, do NOT select this option.
5.Notes You can enter any notes you wish to record about the resource pool.
6.Click the Save button to save the entry or click Cancel to ignore the entries.
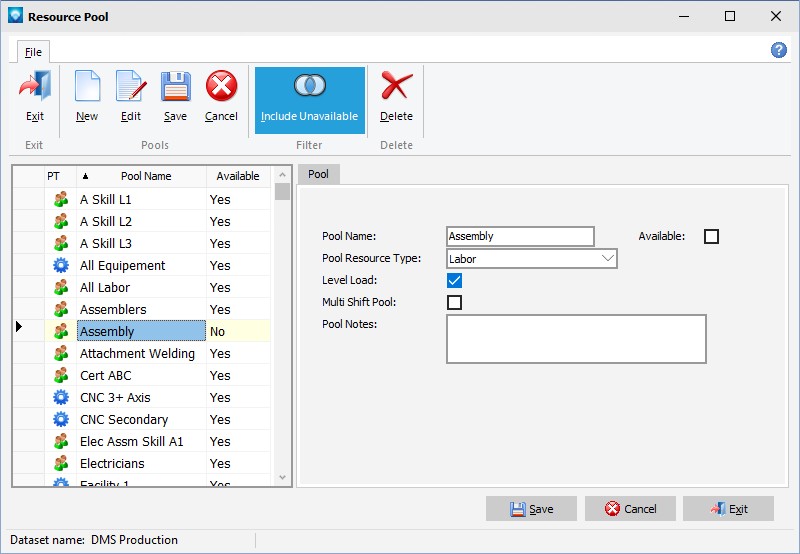
The example below shows the Resource Pools window with Include Unavailable selected. Pools that are unavailable are included in the tree: