|
Crystal Print Report
|   |
|
Crystal Print Report
| |
To Print a report select File | Print Report or press the Print Report button. Where applicable you may be presented with a parameter prompt for report selections as in the example below:
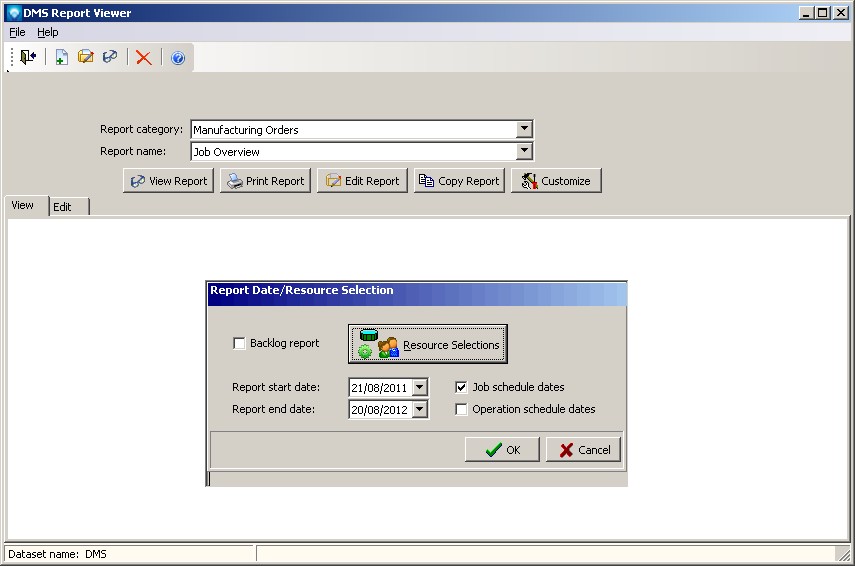
The selections will allow you to put in the parameters for the information you want to see in your report. After your selections have been made, click OK to generate the view or click Cancel to abort the report. The report may take a few minutes to generate depending on how much data you have selected and the complexity of the report.
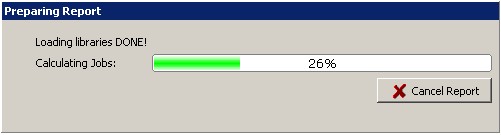
There are two parts to generating a report that take place automatically. During the first part, DMS prepares the data for the Crystal Report to use. The screen example below shows DMS preparing the data. During this process, you can click on the Cancel Report button to cancel the report as shown in the example below:
During the second phase, Crystal Reports starts its calculations which (depending on report complexity) can take a long time to complete. During this time you can abort the calculation by pressing the Crystal abort button ![]() on the View tab header:
on the View tab header:

Once the calculations have been completed, the report is displayed and a Print dialog appears enabling you to select where you want the report printed. After the selection is made, the report is printed and after the printing has completed, the report remains on the screen is a View Report mode.