|
Conditional Highlighting
|   |
|
Conditional Highlighting
| |
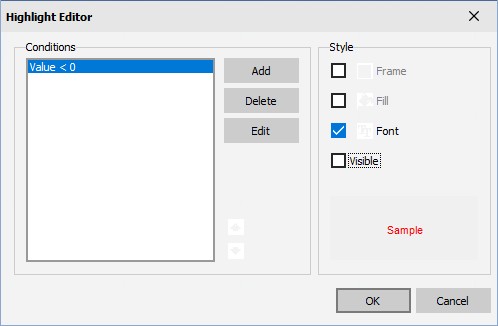
A Text object's appearance can be changed depending on a given condition. For example, an object can be highlighted with red color if it has a negative value. This feature is called conditional highlighting. To set up it, select the Text object you want to add the condition to and click the highlight![]() button on the Text toolbar located at the top of the Report Designer. The following window will appear:
button on the Text toolbar located at the top of the Report Designer. The following window will appear:
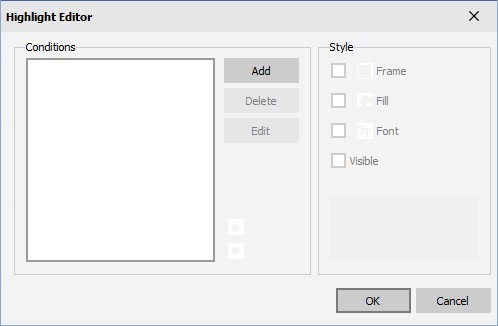
One or more conditions can be defined as well as a set up style for every condition. The style can contain one or more settings:
In order to create a new condition, click the Add button on the Highlight Editor. A popup window will appear with the Expression Editor:
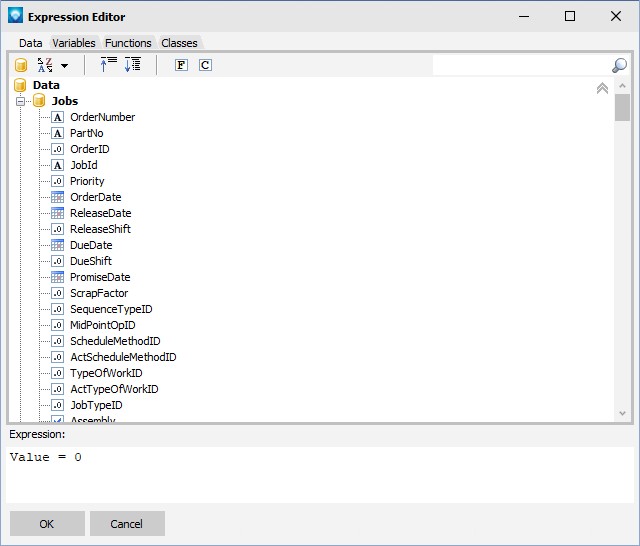
In the expression editor you write any expression which returns a Boolean (true or false) condition. In many cases you will use the Value variable, which contains the currently printing value.
For example, let's say we want the Delivery Status to be displayed in red if the job is late. First, we highlight the Delivery Status object on our report. Next, we press the highlight![]() button and the Highlight Editor pops up. Press the Add button and enter the condition as in the example below. Click OK to save the condition and exit:
button and the Highlight Editor pops up. Press the Add button and enter the condition as in the example below. Click OK to save the condition and exit:
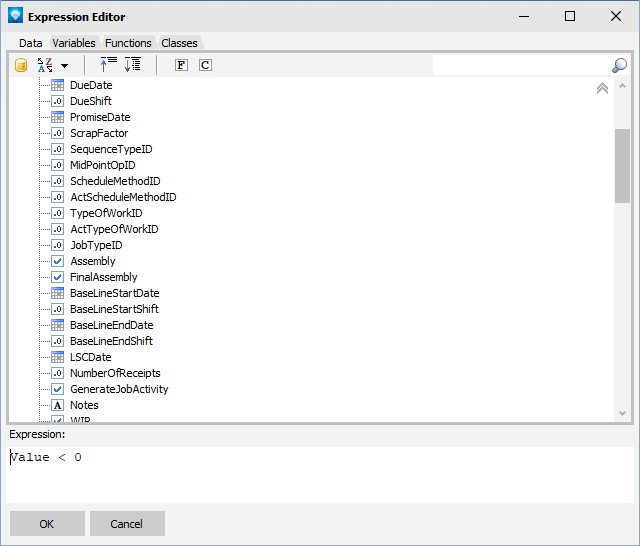
Note that "Value" in the above Expression represents the Delivery Status. Click OK to save the condition.
We now want to add that the Delivery Status shudl appear in red if the condition is true. Make sure the Font is checked and then click on the Font button:
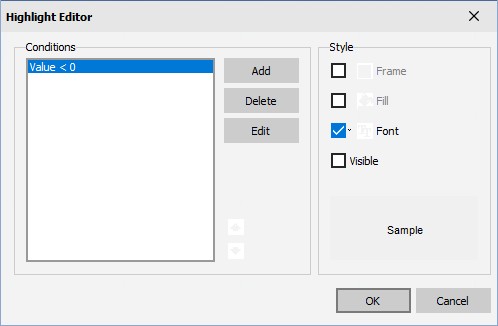
The Highlight Editor would appear as in the example below. Select the color red and click OK.
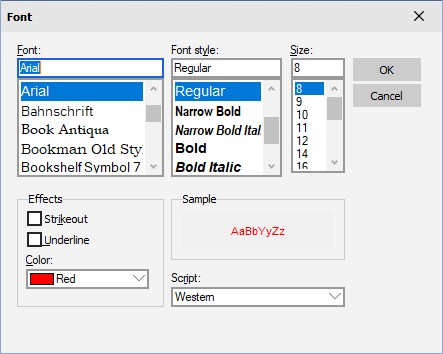
The Highlight Editor appears showing the sample text in red. Click OK to save the condition:
The example report below uses the above command to highlight late delivery statues (the alternate row coloring in the example below is explained in Coloring Alternate Data Rows):
