Create or Edit an Assembly
Previous Topic  Next Topic 

To build a new assembly, click on the Create New Assembly button.  The following window appears:


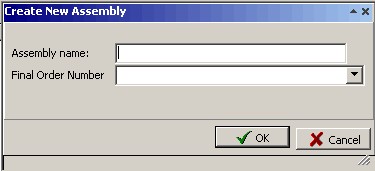
Enter the new assembly name.  The assembly name must be unique and can be the same as the final order number or a different name altogether.  The assembly name can be up to 25 alphanumeric characters long.  Next, enter the final assembly order number which is an existing job and will be the last or final job in the assembly structure.  Click OK to create the assembly, or click Cancel to cancel the creation of a new assembly.


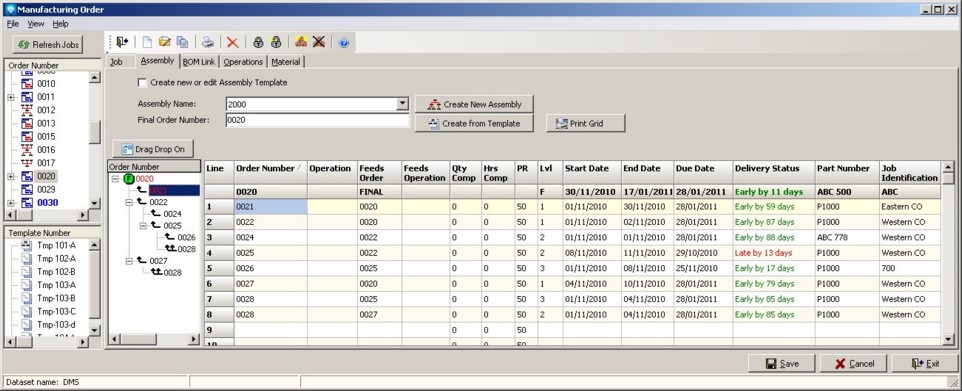
After you have created a new assembly, the final assembly will appear in the assembly tree and you can now enter assembly job relationships.  The example below shows the assembly job tab with the final assembly.  Components have not been added to the assembly in the example below:


To edit an existing Assembly, enter the existing assembly name to the Assembly Name prompt.  The current assembly structure is displayed in the assembly tree along with the current assembly job details.  The example below shows an existing assembly:


To add component jobs to an assembly, you can either:


  1. Add the assembly relationship manually by entering information to the assembly grid.
  2. Drag an existing independent job (a job that is not already part of an assembly) to the assembly tree and drop the job onto its parent.  Details such as assembly overlap information can then be added for the relationship after the drag and drop as required.
  3. Drag an existing template job to the assembly tree and drop the template job onto its parent.  The following window will appear:


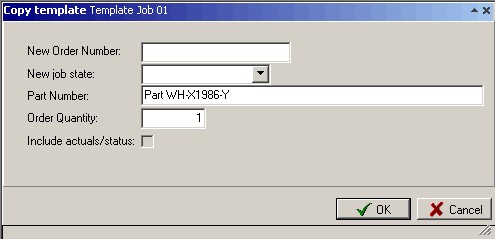
Enter the new order number for the assembly component, the new job state, change the part number as required, and enter the order quantity required for the assembly.  Click OK to add the component or click Cancel to ignore the drag and drop.  Details such as assembly overlap information can then be added for the relationship after the drag and drop as required.


The information you can enter into the assembly grid on assembly relationships is as follows:


  1. Order Number  The order number of the job to add to the assembly.  If you drag and drop a job, this field is populated automatically with the dragged job's order number.
  2. Operation  The operation identification of the component job that must be completed before the parent or "feeds order" can start.  If this field is blank, then the entire component job must be completed before the parent job ("feeds order") can start.
  3. Feeds Order The "Feeds Order" is the order number that the current component job feeds.  If you drag and drop a job, this field is populated automatically with the order number that you dropped the component job onto.
  4. Operation  The second operation prompt in the grid is the operation that the current component job feeds into. That is, if entered the operation identification entered here is in the "feeds order" job and this operation cannot start until the component job has completed (or a given operation in the component job has been completed).  If this field is blank, then the first operation of the job can start when the component job feeding into it has been completed.
  5. Qty Comp  The qty comp is the quantity that must be completed by the current component job before the "feeds order" job can start.
  6. Hrs Comp  The hrs comp is the hours that must be completed by the current component job before the "feeds order" job can start.
  7. PR  The PR is the secondary priority of the assembly component job.
  8. Lvl  Lvl is calculated and is the level of the current component job.  The final order number is level 0, those jobs that feed the final order number are level 1, etc.

The component job scheduled Start Date, End Date, Due Date, Delivery Status, Part Number, and Job Identification are also shown in the assembly grid for information purposes.  You cannot edit these fields.