|
Resource Pools
|   |
|
Resource Pools
| |
A resource pool is a group of resources that have the ability to perform a common task(s). You can group one or more resources under a pool for scheduling purposes, capacity analysis purposes, and/or for reporting purposes. Before a resource can be grouped into a resource pool, the resource pool must be defined. Once a resource pool has been defined and is used by DMS, it cannot be deleted unless resources using the resource pool are assigned to another resource pool. Instead of deleting a resource pool you can make it unavailable for use by unselecting the Available check box.
A resource pool can be designated to be a "multi shift pool". A pool designated as a multi shift pool tells the scheduler to select the best combination of resources across different shifts from the pool in order to complete an operation. The scheduler will select a resource from each of shift 1, shift 2, and/or shift 3. Note that a multi shift pool is not compatible with the Minimum Number of Resources / Maximum Number of Resources settings nor are they compatible with Variable Resources. For more information, please see multi shift pools.
When you select Tables | Resource Pool, the following windows appears listing the current resource pools:
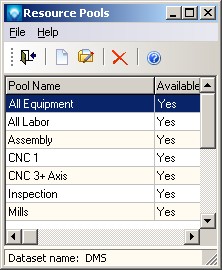
Valid commands are:
If New was selected, the following window appears:
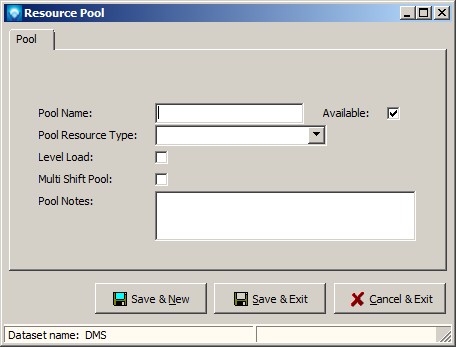
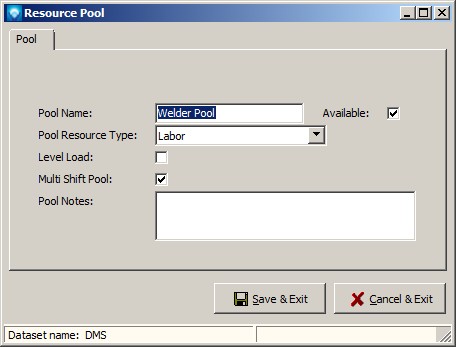
The following explains the prompts on the resource pool window:
Click the Save & New button to save the entry and keep this screen open to add another new resource pool, or click Save & Exit to save the resource pool. Click Cancel & Exit to ignore the entry and exit the screen.
If Edit was selected, the following window appears with the selected pool displayed. You can make changes as required and/or change the available setting. Click the Save & Exit to save the resource pool changes. Click Cancel & Exit to ignore the entry and exit the screen: