The Start/Stop Clock Updating is an alternate method to to update a job with times and quantities. Start/Stop Clock Updating is accessed by the Manufacturing menu or by using a right mouse click to popup the Start/Stop Clock Updating screen. The update parameters of what to display are set Tables | Job Updating Options and then select the Start/Stop Clock Updating tab.
A user group can be limited to executing the Start/Stop Clock Updating command only. See User Groups for more information.
When the user logs into DMS or they select the Start/Stop Clock from a menu, they are presented with the window below (in these examples, "Order Number" has been renamed to "MO"):
Their user name is shown at the top of the form (in the example above, the user name is “DMS”).
In the example below, a user name is not displayed at the top of the form and the Employee Number must be entered:

The following commands are available:
- Start an operation
- Stop an operation
- What's started button Located at the top of the window, this button will list all jobs that user currently has started.
Start an Operation
To start a job, the following steps are taken:
- If the employee number prompt is on the form, a valid employee number must be entered.
- The user enters the Order Number or selects the Order Number from the drop down list.
- The user enters the operation identification for the job they want to work on.
- If the operation is ready to be started by the user, the Start button becomes active as in the example below:

- The user enters the operation status. The operation status will default to the “Status update options” for in process work as set in the Job Updating Options. For example, the status can be set to default to I for in process.
- The user presses the start button to start the operation. A verification window appears as in the example below:

- The user is then returned to the Order Number prompt where they can either enter another Order Number to start, enter an Order Number to stop, or they can press the Exit button to log out/exit the form.
Stop an operation
To stop a job, the following steps are taken:
- If the employee number prompt is on the form, a valid employee number must be entered.
- The user enters the Order Number or selects the Order Number from the drop down list
- The user enters the operation identification for the job they worked on.
- If the Order Number and operation has been started by the user, the Stop button becomes active as in the example below:
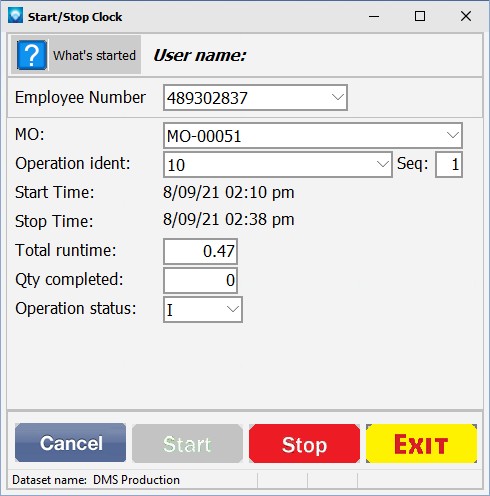
- The Start Time and End time are displayed and the total runtime is calculated automatically and displayed
- The user can enter a different resource or the default planned resource is used.
- The type of work (optional prompt) is entered or left blank.
- The setup time (optional prompt) is entered or left as 0. Note that the total runtime entered includes the setup time. An entry made to setup time separates the setup hours out from the total runtime when the update is applied to the operation’s time.
- The quantity completed (optional prompt) is entered.
- Any scrap (optional prompt) is entered.
- The Operation status is entered. The status defaults to the current status on the operation.
- The status reason (optional prompt) is entered or left blank.
- Any notes (optional prompt) are entered or left blank.
- The user clicks the Stop button to enter the job updating transaction and stop the operation. The following confirmation window appears:

- The user is then returned to the order number prompt where they can either enter another order number to stop, enter a order number to start, or they can press the Exit button to log out/exit the form.
“What’s Started” Button
If the “What’s Started” button is pressed, all the current jobs started by the user are displayed. Note that if the employee number prompt is on the form, a valid employee number must be entered before "What's Started" can be selected. Started jobs are listed in order of the Start Date/Time as in the example below:
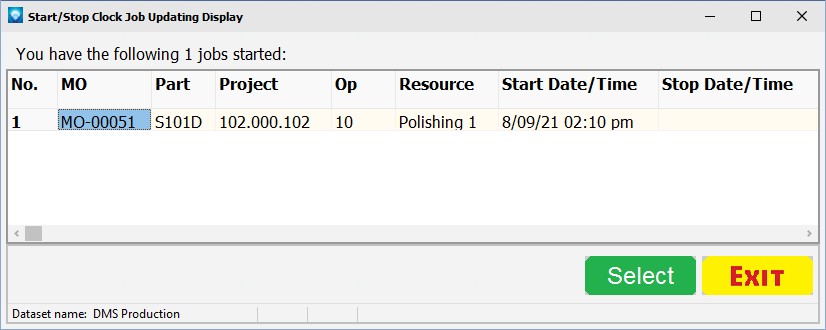
From this screen the user can select the job they want to update by highlighting the job and pressing the Select button, or by doubling clicking on the job. To exit, press the Exit button.
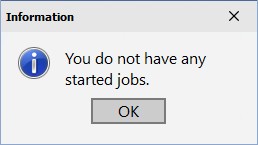
If a user does not have any jobs started, the following message appears: